Read Below the Surface
A soil moisture sensor earns its place when you can name the problem it solves: basil wilting by four o'clock, tomatoes splitting after uneven watering, terracotta pots drying faster than you check them. This route covers choosing a probe, calibrating it against your own soil and placing it where the roots actually drink, so that any pump or valve listening to it is acting on real information.
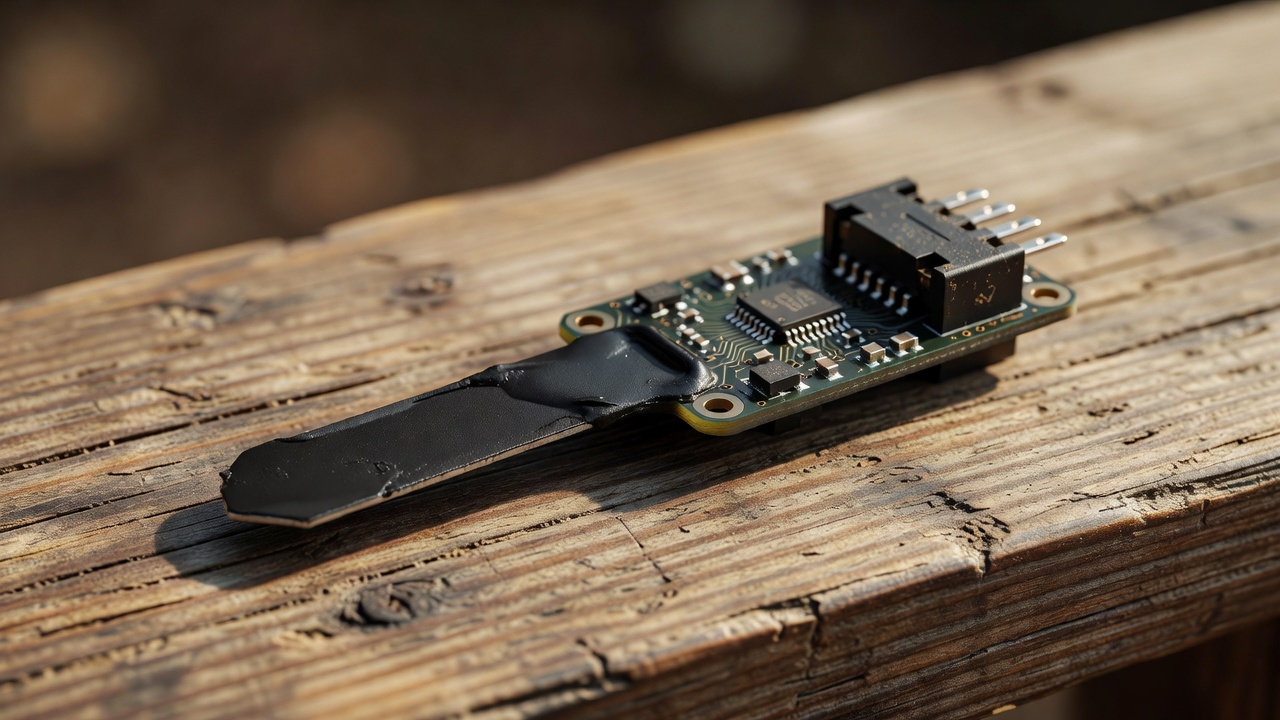
Pick a probe that survives the season
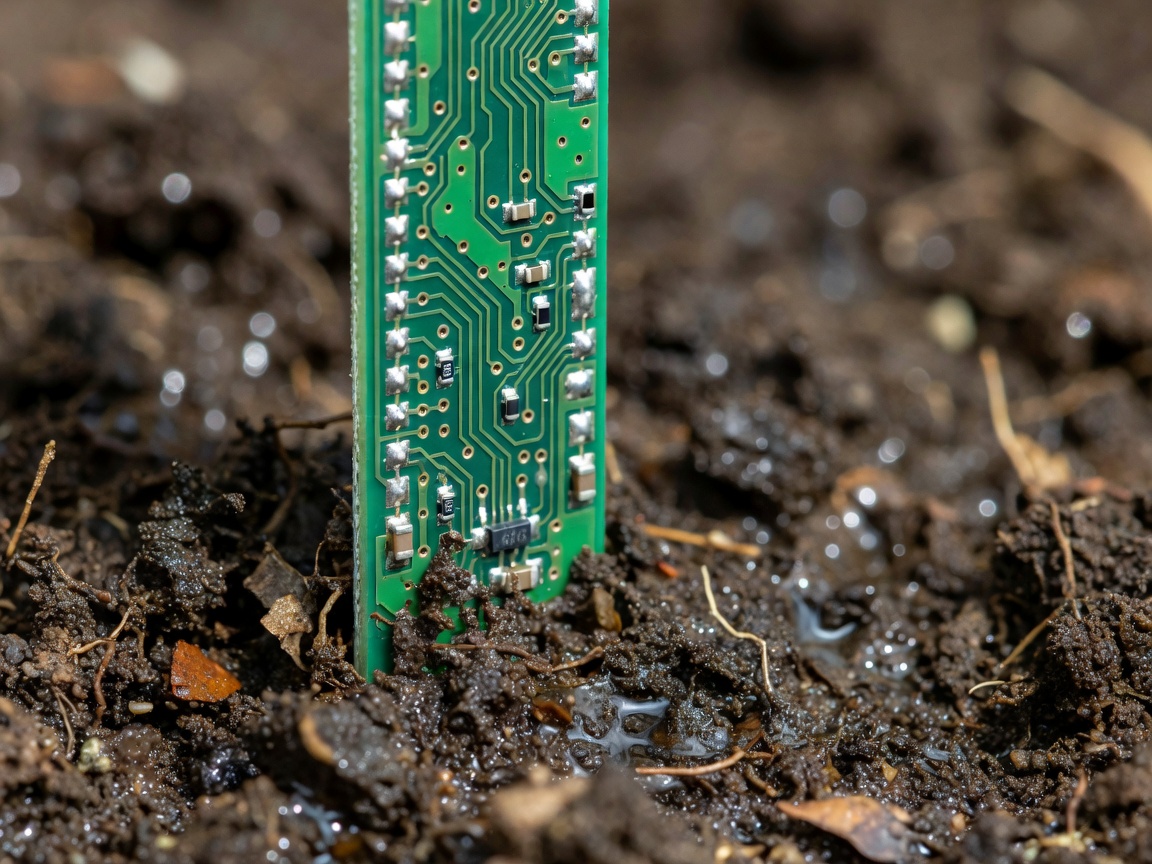
The cheapest probes are resistive: two bare metal prongs pass a small current through the soil and measure how easily it flows. They work on day one, but direct current through wet soil causes electrolysis, and the prongs corrode within weeks outdoors. Readings drift and metal ions leach into the bed.
Capacitive probes, often sold as "capacitive soil moisture sensor v1.2" or v2.0, measure how the soil's dielectric properties change as water content rises. Nothing conductive touches the soil, so they last far longer. Quality varies between batches, which is one more reason to calibrate each probe individually.
Tool list and purpose
- Capacitive probe – senses water content through a coated blade
- Arduino Uno (10-bit, 0–1023) or ESP32 (12-bit, 0–4095) – converts the analogue signal to numbers
- Three-core outdoor cable – carries power, ground and signal
- Heat-shrink and conformal coating – protects the exposed top components
- Notebook – records readings beside what the plants show
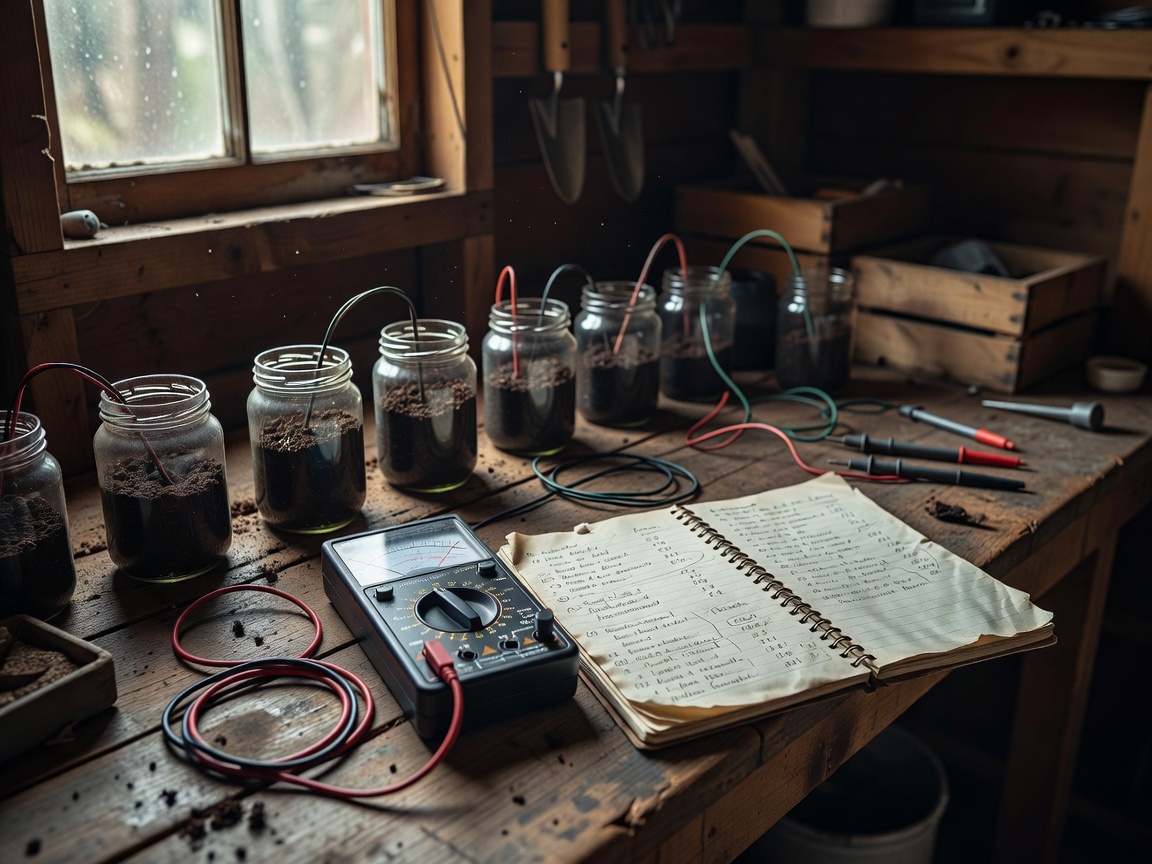
Calibrate with two jars of your own soil
Raw numbers mean nothing until you know where your soil sits on the scale. Fill one jar with soil from the bed, dried on a tray for several days, and one with the same soil soaked until water pools. Push the probe to its marked line in each, wait thirty seconds and average ten readings. These become your dry and wet limits, which you map to 0–100%.
Air and a glass of water give a rough first range, but clay, sandy loam and peat-free compost all read differently. Your own soil is the honest reference.
On an ESP32, use the ADC1 pins (GPIO 32–39). ADC2 cannot be read while Wi-Fi is active, which catches many first builds. The ESP32 ADC is also less linear near its extremes, so averaging and calibration matter more than resolution.
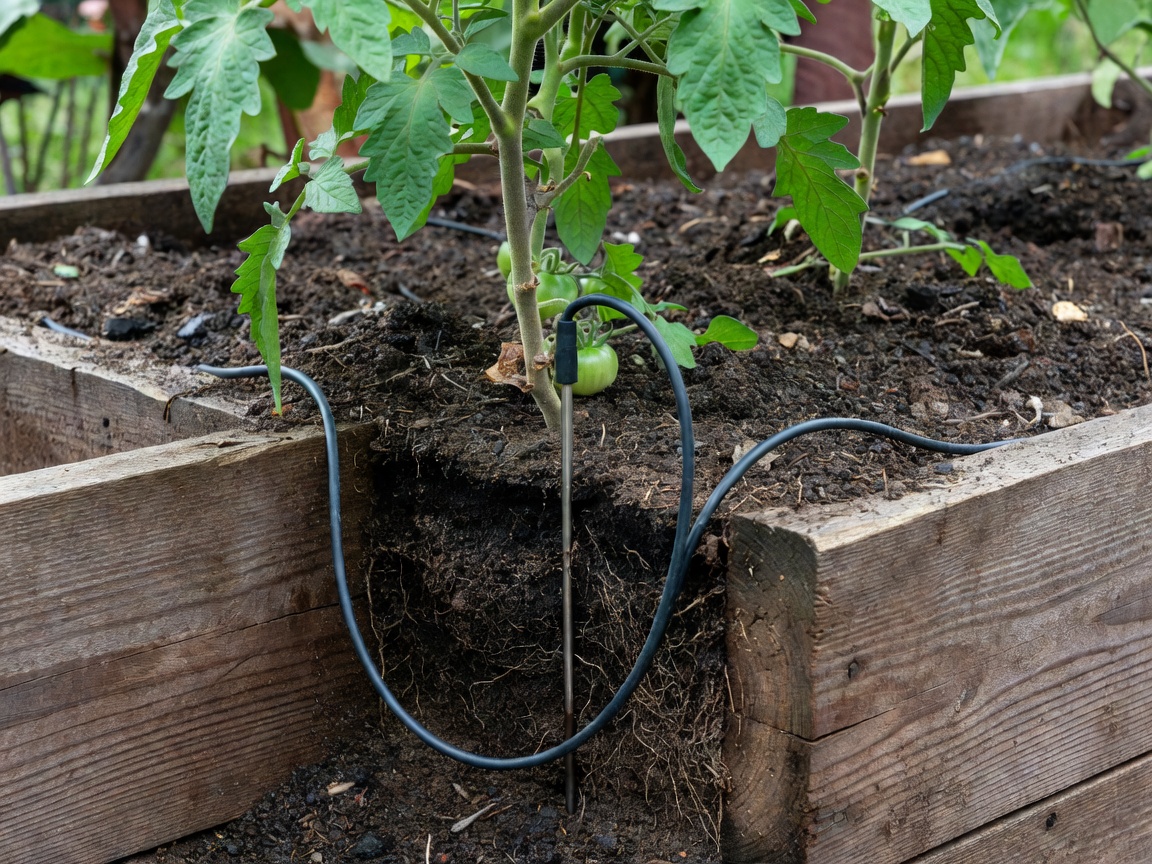
Place it where the roots drink
A probe reports only on the soil touching it. Place it in the root zone: around 10 cm deep for salad leaves and herbs, 15–20 cm for tomatoes and courgettes, and in the middle third of a container, away from the drying edge. Insert it vertically, then firm the soil around the blade with your fingers; an air gap reads as dry soil forever.
Avoid putting the probe directly under a dripper, where it reads wet while the rest of the bed is dry, and avoid the sunny edge of a raised bed, which dries first. Use one probe per watering zone with similar sun, soil and plants. A long bed in mixed shade may need two.
Power and longevity
Power the probe from a GPIO pin or a small MOSFET only when taking a reading. Soil moisture changes slowly, so one reading every 15–30 minutes is plenty. On battery, an ESP32 in deep sleep between readings can run for weeks on a pair of 18650 cells, especially with a small solar top-up. Software can be as simple as an Arduino sketch printing to the serial monitor, or ESPHome feeding readings into Home Assistant for graphs.
Small experiment or dependable installation?
A probe on a breadboard in a pot on the windowsill is an experiment, and that's a perfectly good place to start. Before it controls water outdoors, it needs soldered joints, strain relief on the cable, a drip loop so water runs off before reaching the connector, and an enclosure rated for the job. Under IEC 60529, IP65 means dust-tight and protected against water jets; IP67 adds temporary immersion. A buried connector needs the latter.
Most importantly, your code must treat impossible readings, such as a value outside the calibrated range or a disconnected pin, as "do not water and alert me", never as "very dry, open the valve".