Route Every Drop
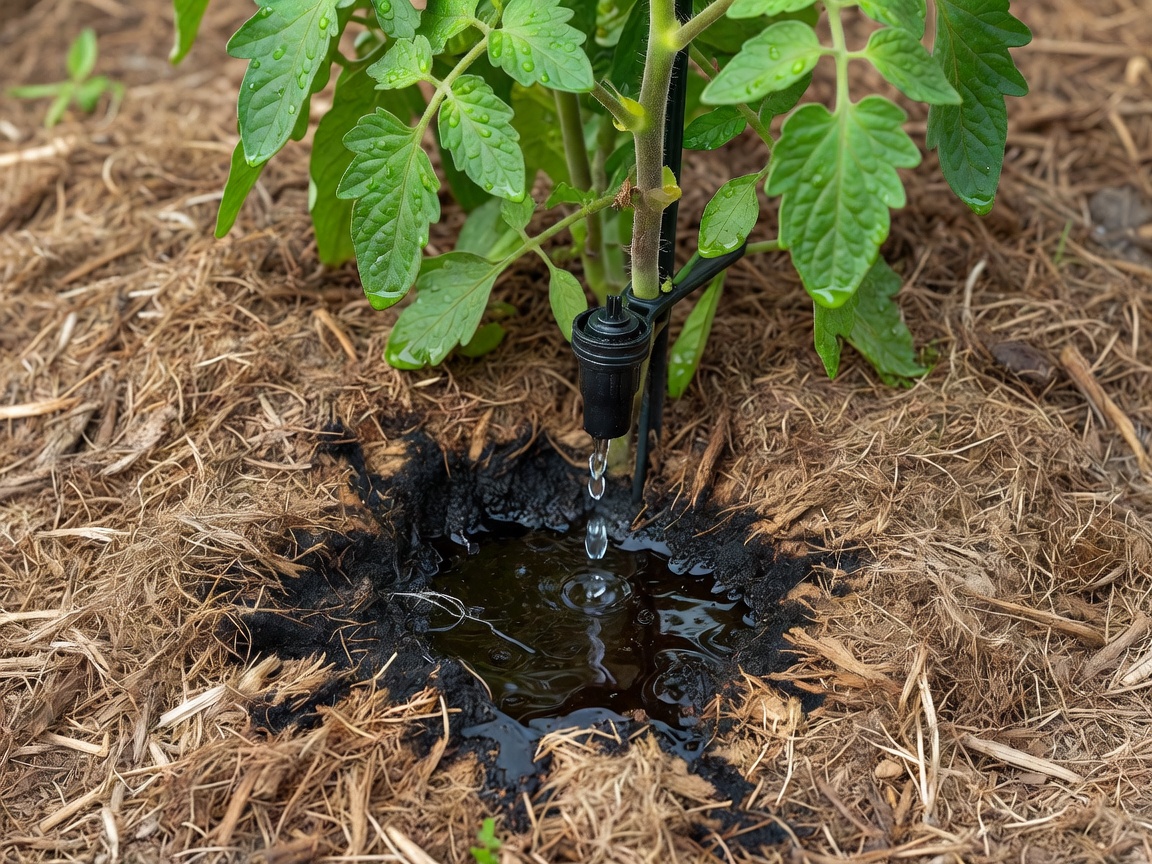
Drip irrigation answers a familiar sight: one end of the bed soggy, the other cracked, and leaves scorched where a sprinkler hit them at noon. By delivering a measured volume to each plant's base, drip uses less water and keeps foliage dry. This route builds a tap-fed system part by part, tests it with a bucket and a stopwatch, and then adds automation with fail-safes that assume something will eventually go wrong.
Start at the tap
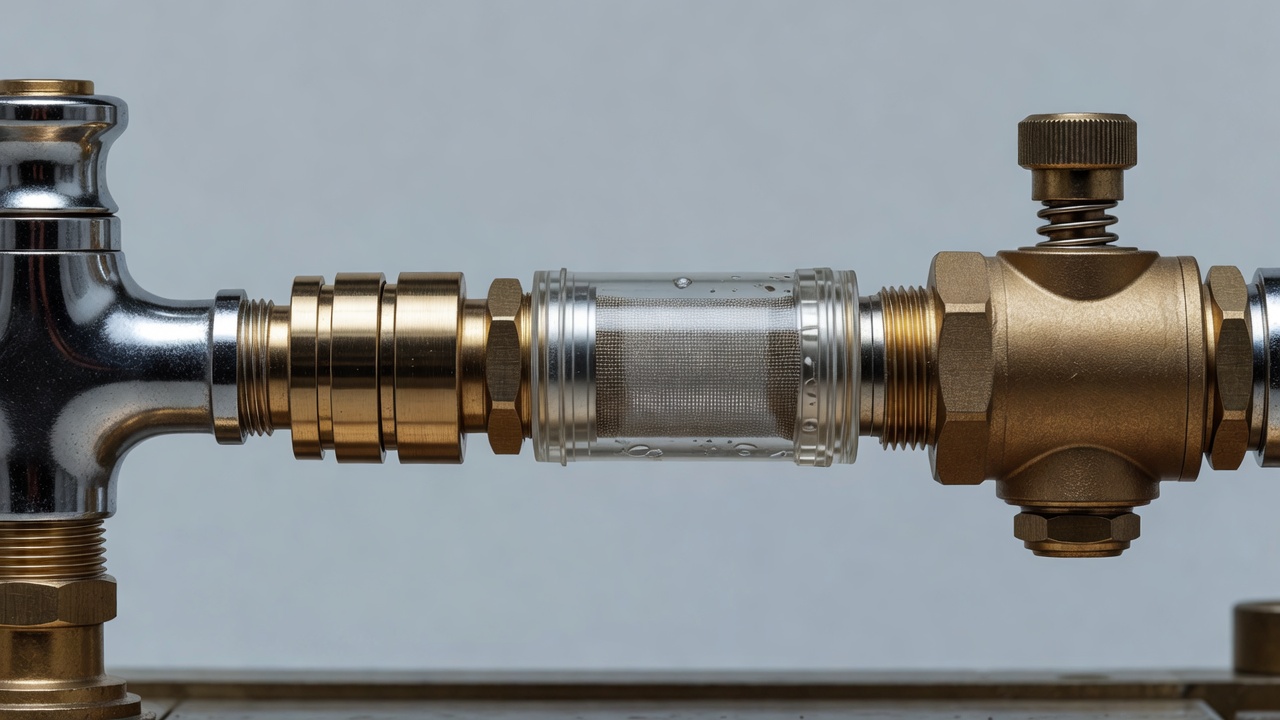
Every part at the head of the system has a job. Backflow protection stops fertiliser-laden garden water being drawn back into the drinking supply if mains pressure drops. In the UK, the Water Supply (Water Fittings) Regulations 1999 require protection suited to the risk, and a double check valve is the usual choice for a hose-fed garden system; in the US, local plumbing codes typically call for a hose bib vacuum breaker or similar device.
Next comes a filter, around 120–150 mesh, because emitter passages are tiny and grit blocks them. Then a pressure reducer: household taps often deliver 2–4 bar, while most drip parts are happiest around 1–2 bar.
Tool list and purpose
- Double check valve – protects the drinking supply
- Mesh filter – keeps grit out of emitters
- Pressure reducer – holds drip parts in their working range
- 16 mm mainline (or 1/2-inch in the US) – carries the bulk flow
- 4 mm microtube and barbed connectors – feed individual plants
- Hole punch, end caps and goof plugs – for clean joints and mistakes

Measure what your tap can give
Before buying emitters, run the bucket test. Open the tap fully through your filter and reducer, and time how long it takes to fill a 10-litre bucket. If it takes 40 seconds, the supply is 15 litres per minute, or 900 litres per hour. Keep the total flow of all emitters in one zone below about three-quarters of that figure, so pressure holds at the far end.
Emitters are rated in litres per hour. Pressure-compensating drippers at 2 L/h or 4 L/h give the same flow along a long or sloping run. Inline drip line with emitters every 30 cm suits rows of vegetables; adjustable micro-sprays suit seedbeds where roots are shallow and widespread.
Let a controller decide, with limits
The simplest controller is a battery tap timer from brands such as Gardena, Hozelock or Orbit. It's reliable, cheap and needs no wiring. A DIY controller earns its complexity when you want watering to respond to a calibrated soil sensor.
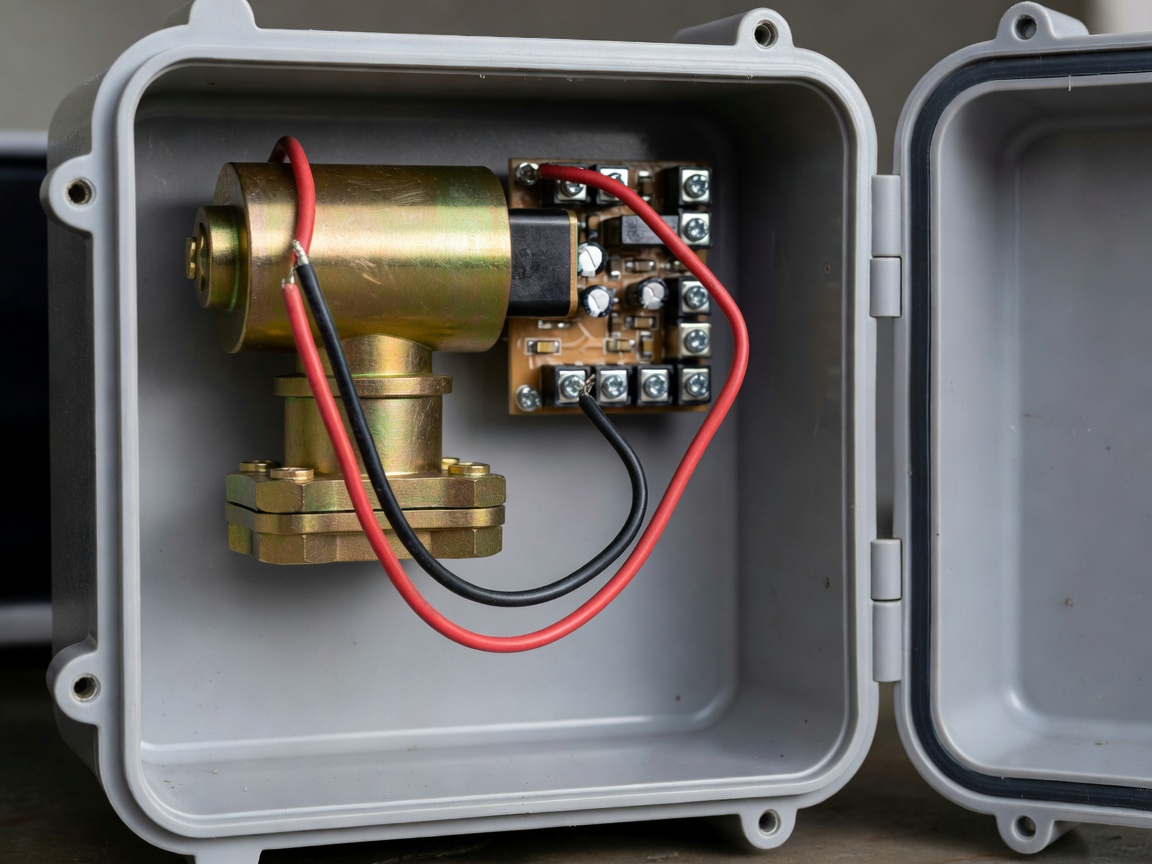
A typical build uses an ESP32, a relay or MOSFET module, and a 12 V DC normally-closed solenoid valve. Normally closed matters: if power fails, the valve shuts. Fit a flyback diode across a DC solenoid coil to protect the electronics. Many residential irrigation valves, such as those from Rain Bird and Hunter, use 24 V AC and need a matching transformer instead.
Write fail-safes into the code: a hard maximum run time, a watering window (early morning), a minimum gap between cycles, and a rule that sensor faults block watering. Keep the electronics above ground in a ventilated enclosure, not in a valve box that fills with water.